
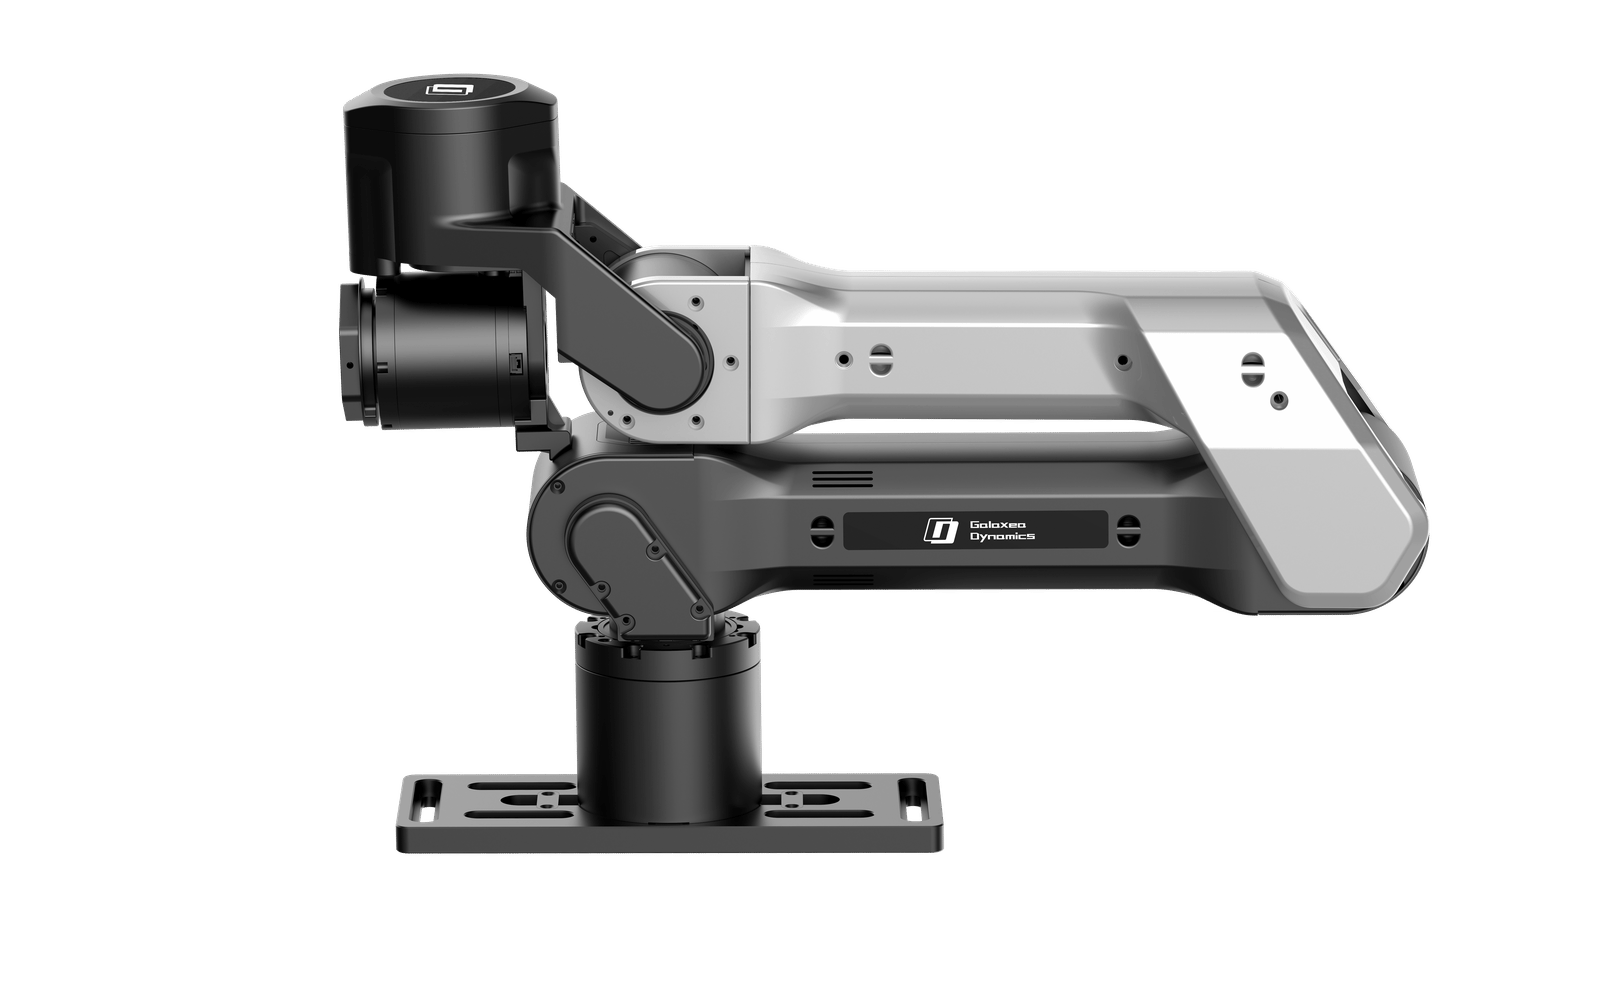
Before you start: clone the dimos repo
Everything on this page runs from inside a clone of the dimos repository - the setup scripts,
uv sync, and every uv run dimos command below assume the repo root is your working directory. The quickstart’s pip install dimos alone is not enough for the A1Z; without the repo checkout, none of the commands on this page will work.adventure_x branch - the A1Z setup scripts and commands below are not on main yet.
Host setup
The G1Z requires the vendor SDK’sgripper branch - vendor main does not accept with_gripper and cannot actuate CAN motor 7. The one-command setup pins the correct SDK for you.
Run it as your normal user. On both platforms it installs the pinned vendor SDK from the locked galaxea-a1z dependency group; on macOS it also installs the PyUSB/gs-usb transport and Homebrew libusb. Linux then configures SocketCAN; macOS verifies the attached HHS adapter without enabling the arm:
--with-lerobot to install the dataset, training, and live-policy runtime in the same environment. Use --sdk-only to synchronize and verify Python dependencies without checking or configuring attached CAN hardware:
--group galaxea-a1z in later exact syncs, or just rerun the setup script. That group keeps the non-PyPI vendor SDK and the macOS transport pinned inside uv.lock, so no manual uv pip install step is ever needed.
CAN bring-up (Linux)
DimOS deliberately has no Linux userspace-CAN fallback. After a boot or after reconnecting the HHS adapter, rerun the full setup script, or invoke the CAN portion directly to bind the adapter to the kernel driver, configure the stablea1zcan SocketCAN interface, and verify transmission:
Camera access (macOS)
The teach command uses a standard UVC camera through DimOS’s genericWebcam and CameraModule. On Linux, index N normally maps to /dev/videoN. On macOS, grant the terminal application Camera access in System Settings → Privacy & Security → Camera, then select the AVFoundation device with --camera-index N. Use the index reported by OpenCV, not ffmpeg - their AVFoundation device ordering can differ.
Run the arm
Teach mode: record episodes by hand
Teach mode puts the arm in gravity-compensated zero-force mode: you drag it through the task by hand while DimOS records. Each saved episode contains 640x480 RGB camera frames at 15 Hz plus the six measured arm joints and the gripper position.--task text is stored with the episodes - write a real task description, since downstream language-conditioned policies train on it. Keep yourself out of the camera frame while dragging.
Select the camera with --camera-index N (see camera access on macOS above). On the hackathon Mac, OpenCV enumerates the external KS2A418 camera as index 0:
SPACE to save the current episode or d to discard it. While idle, press d to discard the most recently saved episode; replay and dataset export will exclude it.
The command prints the Memory2 .db path.
Replay an episode
--episode and adjust speed with --speed. The arm physically re-executes the taught motion - same safety rules as any motion command. Replaying is the fastest way to confirm a recording captured what you demonstrated before you spend time on datasets and training.
Export to a LeRobot dataset
Convert a teach recording into a LeRobot v3 dataset with synchronized video, seven-element observation state (six joints + gripper), and seven-element action:observation.images.image, the measured arm and gripper state as observation.state, and the next measured state as action - ready for imitation-learning training. For the config fields and the general demonstration → dataset story, see the learning loop.
Train an ACT policy
Install or verify the complete locked training runtime:--policy.device=cuda on an NVIDIA training host. Apple-silicon Macs use mps; CPU-only hosts can use cpu for a slow smoke test.
ACT is the tested A1Z policy type, but the runtime uses LeRobot’s policy factory rather than hard-coding ACT. Another LeRobot policy type works as long as its checkpoint exposes the same single RGB image input, seven-value state input, and seven-value action output.
Run a trained checkpoint
After host setup passes, run the trained policy on hardware:default, starts the same camera/coordinator/policy module stack a full blueprint uses, and invokes execute_learned_policy("default").
Turn trained policies into an agentic robot
Once individual checkpoints passrun-policy, put them in one catalog and give each behavior a stable, meaningful skill name. Checkpoints load on first use and are cached, so one running robot can execute several trained behaviors without restarting. The complete blueprint stays small:
a1z_learned_agent as a runnable blueprint through the normal DimOS blueprint registration process, then start it like any other stack:
McpServer exposes the named skills; and McpClient lets the language agent select and sequence them. Adding a trained behavior means adding one catalog entry and one small @skill wrapper - no new executor module, no changes to DimOS core.
If something goes wrong
- Kill switch: the PSU power switch is the only hardware kill. Stopping the DimOS stack calls
deactivate()(write_enable(False)), which disables the motors - and, since the arm has no brakes, drops it. Support the arm first, either way. - Gripper stays energized after shutdown: the vendor protocol sends the gripper-disable frame only once and it can be lost. The DimOS adapter retries this automatically; if the gripper is still stiff, use the kill switch.
- CAN interface up but nothing responds: the broken-
gs_usbkernel case above. Rerunsetup_a1z_can.shand read its output. - Policy behaving strangely: work backwards through the loop. Run
dimos dataprep inspectto check shapes and episode counts, anddimos a1z replayto check the recorded motion looks like what you demonstrated. A bad policy is usually a dataset problem; a dataset problem is usually a recording problem.